ADVERTISEMENT
Step-by-Step Instructions:
1. Bake the Cake
- Preheat Oven: Heat your oven to the temperature listed on the cake mix box (typically 350°F/175°C).
- Mix and Bake: Prepare the cake batter according to the package instructions and bake in a greased 9×13-inch pan. Bake until a toothpick inserted into the center comes out clean (around 25–30 minutes).
- Cool Slightly: Allow the cake to cool for about 15 minutes, but not completely.
2. Prepare the Raspberry Filling
- Make Gelatin: In a bowl, whisk the raspberry gelatin with 2 cups of boiling water until completely dissolved. Let it cool slightly, about 5–10 minutes.
- Poke the Cake: Use a skewer, fork, or the handle of a wooden spoon to poke holes all over the surface of the cake.
- Pour Gelatin: Slowly pour the cooled gelatin mixture evenly over the cake, letting it seep into the holes.
3. Add the Whipped Topping and Coconut
- Spread Topping: Once the cake has cooled completely, spread the whipped topping evenly over the surface.
- Sprinkle Coconut: Evenly sprinkle the shredded coconut on top of the whipped topping.
4. Optional Extra Raspberry Layer
For an added raspberry punch, spread a thin layer of raspberry preserves over the cake before adding the whipped topping.
5. Chill and Serve
- Refrigerate: Cover the cake and refrigerate for at least 4 hours, or overnight, to allow the flavors to meld and the gelatin to set.
- Slice and Serve: Cut into squares and enjoy this colorful, flavorful dessert!
Tips for the Perfect Raspberry Zinger Poke Cake
- Chill for Maximum Flavor: This cake tastes even better the next day after chilling, as the flavors meld beautifully.
- Use Fresh Coconut: For a more natural flavor, try using unsweetened or freshly grated coconut.
- Double the Raspberry: If you love extra raspberry flavor, use both the gelatin and a layer of preserves.
- Experiment with Flavors: Swap out raspberry for other gelatin flavors, like strawberry or cherry, to create a new twist.
Why the Poke Cake Technique is a Game-Changer
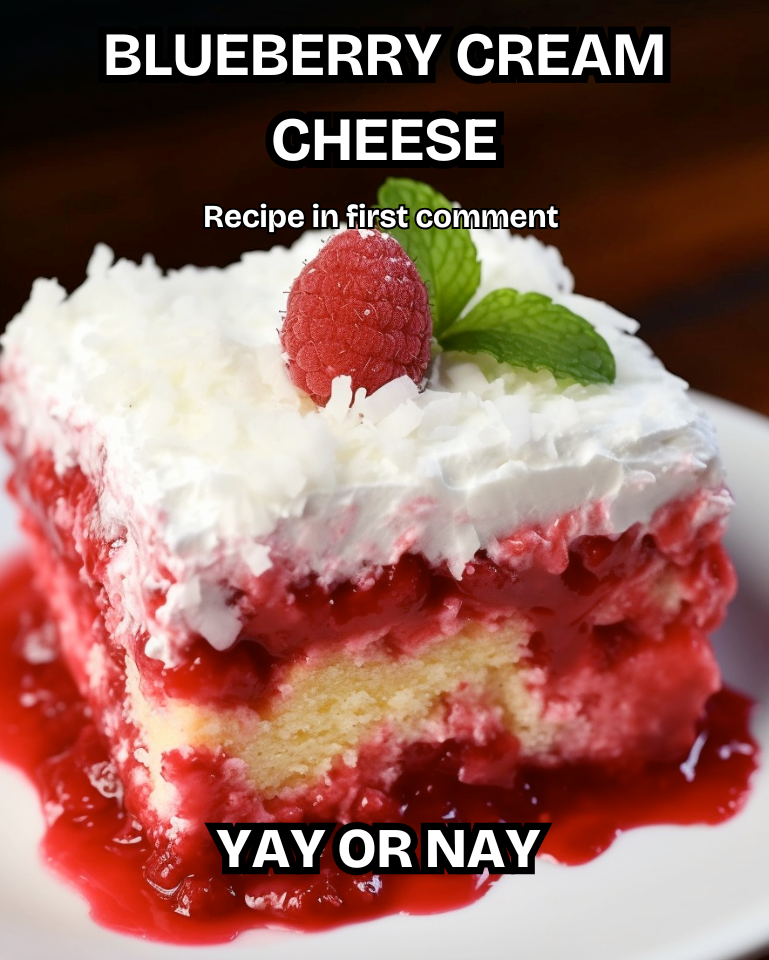
Poke cakes are a brilliant way to infuse flavor and moisture into every bite of your dessert. The process involves poking holes into the cake and pouring in a liquid—whether gelatin, pudding, or syrup—that soaks into the cake. The result? A dessert that’s as visually appealing as it is delicious! The streaks of raspberry gelatin create a stunning marbled effect that’s sure to impress at any gathering.
Serving Suggestions
This Raspberry Zinger Poke Cake pairs beautifully with:
- Fresh Raspberries: Sprinkle a few on top for a pop of color and added texture.
- Vanilla Ice Cream: The creamy, cold contrast takes this dessert to the next level.
- Extra Coconut: Toast some shredded coconut for garnish to add a nutty crunch.
Storage Instructions
- Refrigerate: Store in an airtight container in the refrigerator for up to 4 days.
- Freeze: You can freeze the cake (without the whipped topping) for up to 2 months. Thaw in the fridge, then add the whipped topping and coconut before serving.
FAQs
1. Can I use fresh raspberries?
Yes! You can fold fresh raspberries into the cake batter for added texture and natural sweetness.
2. What’s the best way to slice this cake?
For clean slices, use a sharp knife and wipe it clean between cuts.
3. Can I make this cake dairy-free?
Yes! Use a dairy-free whipped topping and ensure your cake mix is dairy-free.
Final Thoughts
This Raspberry Zinger Poke Cake is not just a dessert; it’s a delightful trip down memory lane. Combining the tangy sweetness of raspberries, the creaminess of whipped topping, and the tropical flair of coconut, this cake is an absolute showstopper. Whether you’re making it for a family dinner, a party, or just because, it’s guaranteed to leave everyone asking for seconds (or the recipe!).
Have you tried this cake or added your own twist? Let us know in the comments! We’d love to hear your stories and variations. Happy baking! 🎂✨
ADVERTISEMENT
