ADVERTISEMENT
1. Preparing the Sponge Cake
The foundation of this dessert is a fluffy sponge cake that will absorb the milk syrup beautifully.
- Preheat the oven: Start by preheating your oven to 350°F (175°C). Grease and flour a 9×13-inch baking pan or line it with parchment paper for easy removal.
- Mix dry ingredients: In a medium bowl, whisk together the flour, baking powder, and salt. Set this aside.
- Separate the eggs: Separate the egg yolks and whites into two large bowls.
- Beat the yolks: Using a hand mixer or stand mixer, beat the egg yolks with 1/2 cup of sugar until the mixture turns pale yellow and thick (about 3 minutes). Add the milk and vanilla extract, and mix until incorporated.
- Whip the whites: In a separate clean bowl, beat the egg whites on medium-high speed until soft peaks form. Gradually add the remaining 1/4 cup sugar and continue to beat until stiff peaks form.
- Combine batter: Gently fold the yolk mixture into the whipped egg whites, being careful not to deflate the batter. Gradually add the flour mixture in small batches, folding until just combined.
- Bake: Pour the batter into the prepared baking pan and smooth the top. Bake for 25-30 minutes, or until a toothpick inserted into the center comes out clean.
- Cool: Allow the cake to cool in the pan for 10 minutes, then invert it onto a wire rack and let it cool completely.
2. Preparing the Milk Mixture
The milk mixture is the heart of this recipe, turning the sponge into a luxurious milk cake.
- In a medium bowl, combine the evaporated milk, condensed milk, heavy cream, and vanilla extract. Whisk until smooth.
- Once the cake has cooled, carefully place it back into the baking pan (if removed).
- Using a fork or skewer, poke small holes all over the cake. This step allows the milk mixture to soak evenly into the sponge.
- Slowly pour the milk mixture over the cake, ensuring it soaks into the holes. Cover the cake and refrigerate for at least 1-2 hours to allow the milk to absorb fully. Overnight chilling works best for maximum flavor and texture.
3. Whipping the Cream and Preparing Strawberries
A light and fluffy whipped cream topping pairs beautifully with the soaked cake and fresh strawberries.
- Whip the cream: In a large chilled bowl, whip the heavy whipping cream with powdered sugar and vanilla extract until soft peaks form. Do not overbeat.
- Prepare the strawberries: Hull and slice the fresh strawberries. You can cut them into halves, quarters, or slices depending on your preferred presentation style.
4. Assembling the Cake
Now comes the fun part—putting it all together!
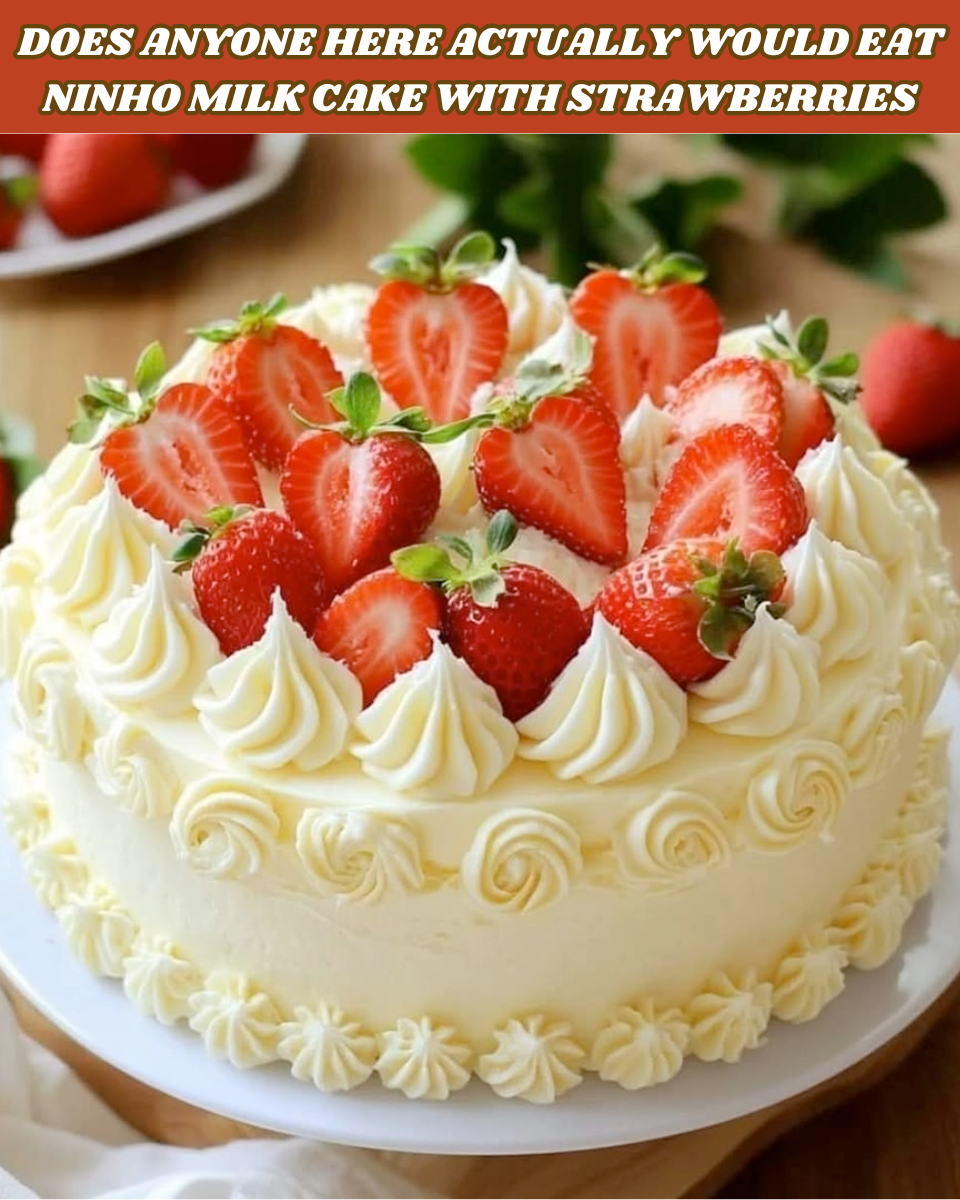
- Spread the whipped cream evenly over the chilled cake, using a spatula to create swirls or a smooth finish.
- Arrange the sliced strawberries on top of the whipped cream. You can create patterns, like a strawberry border, or simply scatter them across for a more rustic look.
- For an extra touch, garnish with fresh mint leaves for a pop of color.
Serving and Storing Tips
- Serving: Milk Cake with Strawberries is best served chilled. Allow it to sit for a few minutes at room temperature before slicing to make it easier to cut clean pieces.
- Storing: Store any leftovers in the refrigerator, covered, for up to 3 days. The flavors tend to deepen, and the cake gets even better with time!
Why You’ll Love This Recipe
- Perfectly Moist: The milk soak ensures every bite is soft and moist without being too heavy.
- Easy to Make: Despite its elegant appearance, this cake uses simple ingredients and techniques.
- Beautiful Presentation: Fresh strawberries and cream make it visually stunning—perfect for holidays, birthdays, or any celebration.
- Customizable: While strawberries are the star, you can switch them for other fresh fruits like raspberries, blueberries, or peaches.
Final Thoughts
This Milk Cake with Strawberries is a showstopper that will become your new favorite dessert. It strikes the perfect balance between creamy sweetness and fruity freshness, making it a treat you’ll want to bake again and again. Whether you’re hosting a gathering, celebrating a special day, or just craving something delicious, this recipe will never disappoint.
Try it today, and don’t forget to share your creations—tag your photos with #MilkCakeDelight and spread the love! What’s your favorite way to top a milk cake? Let us know in the comments!
ADVERTISEMENT
