ADVERTISEMENT
Step 1: Preheat and Prepare the Baking Pan
Start by preheating your oven to 350°F (175°C). Grease a 13×9-inch baking pan with non-stick spray to ensure your casserole comes out easily after baking. You can also line the pan with parchment paper for easy cleanup. 🍳
Step 2: Brown the Ground Beef
In a large skillet, heat up a little oil over medium-high heat. Add the ground beef and brown it until fully cooked. Drain any excess grease to keep the casserole from being too greasy. Once the beef is cooked, add the diced onion and bell pepper to the skillet. Stir everything together and cook for about 5 minutes until the vegetables have softened. Sprinkle the taco seasoning over the mixture, and pour in ½ cup of water. Stir to combine and let it simmer for about 10 minutes so all the flavors meld together. This creates the savory, flavorful base for your casserole. 🍳🌶️
Step 3: Make the Creamy Sauce
While the beef mixture is simmering, grab a mixing bowl and combine the sour cream, mayonnaise, ½ cup of shredded Cheddar cheese, and Ranch seasoning. Whisk everything together until smooth. This creamy sauce adds richness and a burst of flavor that ties all the casserole components together. 🥄
Step 4: Prepare the Bisquick Biscuit Layer
In a separate bowl, mix the Bisquick and ¾ cup of water to form a soft dough. The dough should be slightly sticky but manageable. Once mixed, press the dough evenly into the bottom of your prepared baking pan, forming a thin layer that will act as the base of your casserole. Bake the biscuit layer for 5 minutes in the preheated oven to give it a head start. 🍞
Step 5: Assemble the Casserole
After the biscuit base has baked for 5 minutes, remove it from the oven and layer the beef mixture on top of the biscuit dough. Spread it evenly. Next, pour the Rotel tomatoes with chilies over the beef. Follow that with the creamy sour cream mixture, spreading it evenly to cover the entire casserole. Top everything off with the remaining Cheddar cheese. 🧀
Step 6: Bake Until Golden and Bubbling
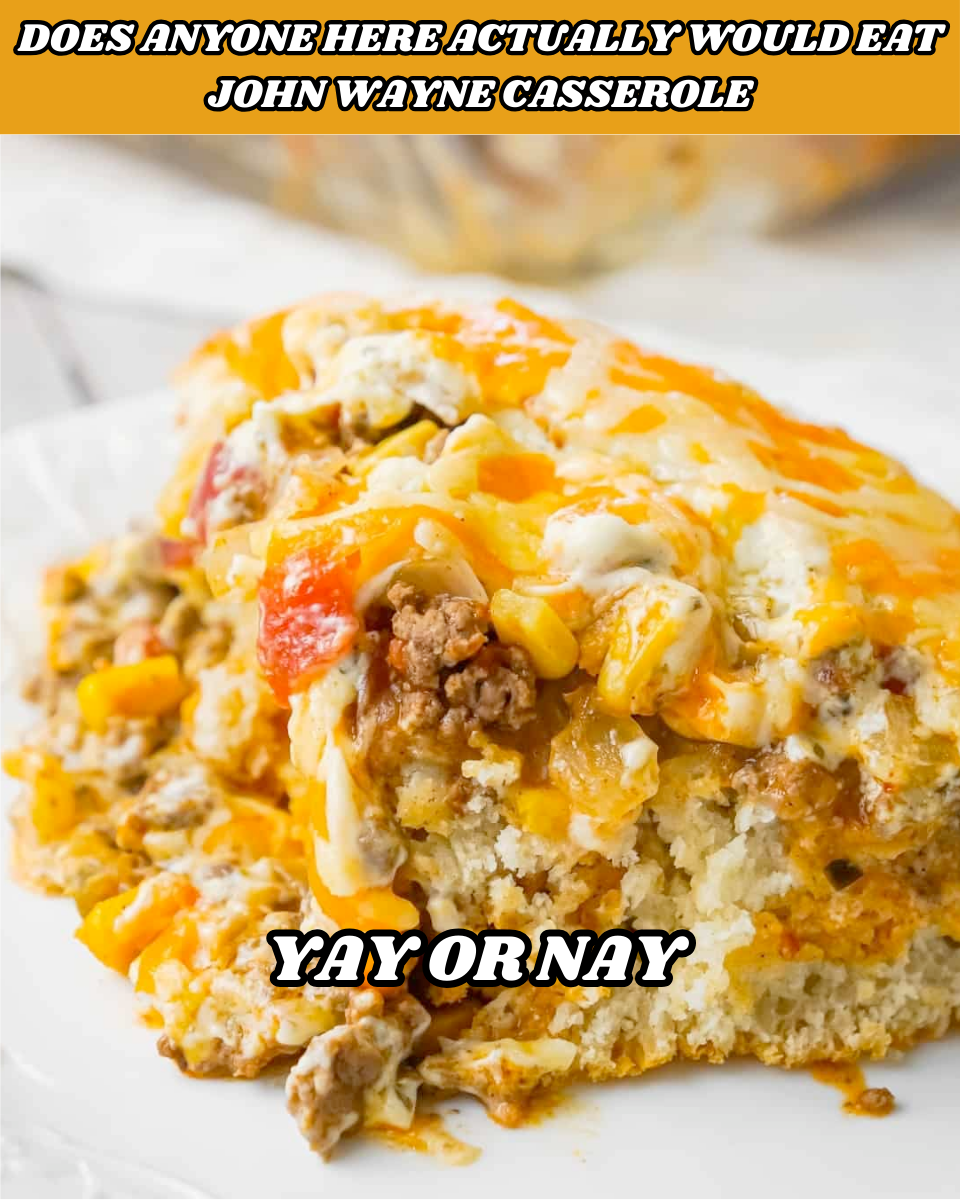
Return the casserole to the oven and bake for 25-30 minutes. The top should be golden and bubbly, with the cheese fully melted. The biscuit base will rise slightly during baking, creating a soft, flaky layer that complements the savory beef and creamy toppings. Once the casserole is done, remove it from the oven and let it cool for a few minutes before serving. 😍🍽️
Serving and Storing Your Taco Casserole
- Serving Tips: This Taco Casserole pairs perfectly with sides like mashed potatoes or steamed vegetables. I recommend serving it with a side of steamed broccoli 🥦 and creamy mashed potatoes 🥔 for a well-rounded, satisfying meal.
- Leftovers: Store any leftovers in an airtight container in the fridge for up to 3 days. This casserole makes for great leftovers, as the flavors continue to develop and deepen over time. Alternatively, you can freeze leftovers for up to 3 months for a quick meal later on.
- Quick Version: If you’re in a rush, feel free to swap the Bisquick with refrigerated biscuit dough or crescent roll dough. Simply press the dough into the pan, bake for a shorter time, and proceed with the rest of the recipe. ⏱️
Why You’ll Love This Taco Casserole:
- Flavorful: The combination of taco-seasoned beef, creamy sauce, and tangy cheese is irresistible.
- Comforting: It’s hearty, warm, and filling—perfect for cozy dinners or special occasions.
- Easy to Make: With minimal prep and baking time, it’s a simple yet impressive dish to make for your next gathering.
- Customizable: Feel free to add more ingredients like jalapeños for extra heat or top with guacamole or sour cream for even more flavor!
This Taco Casserole is bound to become a family favorite—perfect for the holidays, busy weeknights, or just because! 😋
Let me know how your casserole turns out, and enjoy every bite! 🥳
ADVERTISEMENT
