ADVERTISEMENT
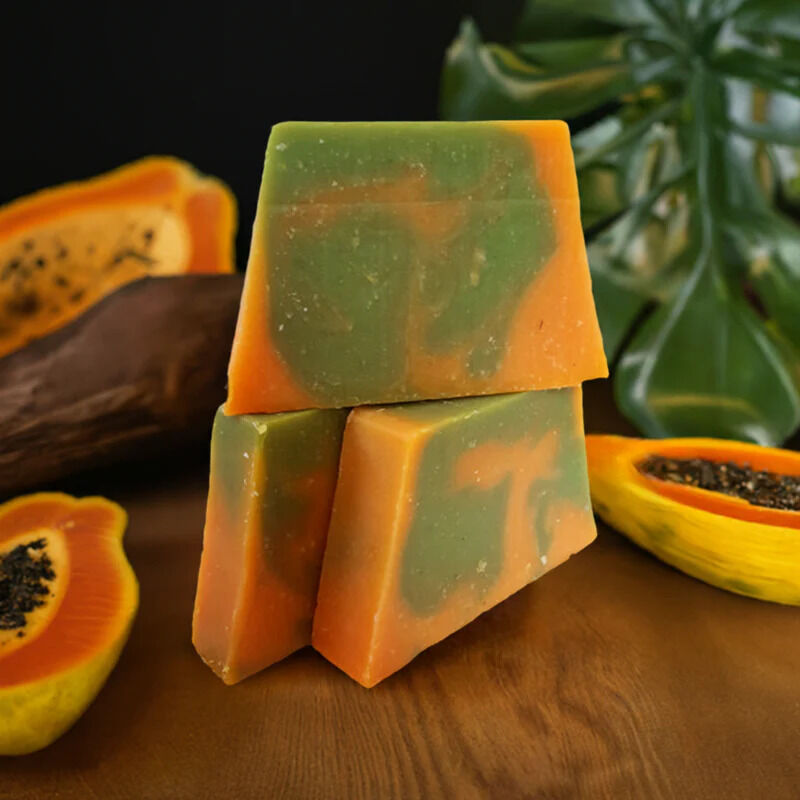
Papaya is a powerhouse when it comes to skin care. Rich in vitamin C, enzymes like papain, and antioxidants, it helps lighten the skin, exfoliate dead cells, and promote a natural glow. Making homemade papaya soap is a simple and effective way to achieve brighter, smoother skin without harsh chemicals.
Here’s a step-by-step guide to making papaya soap at home for skin whitening and glowing results:
Ingredients:
- 1 ripe papaya (mashed)
- 500g of melt-and-pour soap base (glycerin, goat milk, or shea butter base works best)
- 1 tablespoon of honey (for moisturizing and antibacterial benefits)
- 1 tablespoon of lemon juice (for added skin-brightening properties)
- 10-15 drops of essential oil (optional for fragrance, like lavender or tea tree)
- Soap molds or a small container
Instructions:
Step 1: Prepare the Papaya
- Peel and mash the papaya until you have a smooth, lump-free puree. Use a blender or fork to mash the papaya thoroughly. Papain in papaya helps exfoliate the skin and lighten dark spots naturally.
Step 2: Melt the Soap Base
- Cut the melt-and-pour soap base into small cubes for easier melting.
- Use a double boiler or microwave to melt the soap base. If microwaving, heat in 30-second intervals, stirring in between until fully melted.
Step 3: Mix in the Ingredients
- Once the soap base is melted, remove it from the heat.
- Add the mashed papaya to the melted soap base and stir well until fully combined.
- Add honey and lemon juice, and stir to mix evenly. The honey will add moisture to the soap, while lemon juice enhances the skin-whitening properties.
- If desired, add essential oil for fragrance and additional skin benefits (lavender is great for calming, and tea tree oil helps with acne).
Step 4: Pour into Molds
- Pour the mixture into your soap molds or a small container. Make sure the mixture is evenly distributed in the mold.
- Let the soap sit at room temperature or in the refrigerator until fully set. This could take several hours or overnight.
Step 5: Remove the Soap from the Molds
- Once the soap is hardened and firm, gently pop it out of the molds.
- Your homemade papaya soap is now ready to use!
Benefits of Papaya Soap:
Read more on next page
ADVERTISEMENT
ADVERTISEMENT
