ADVERTISEMENT
If you have limited garden space or want to encourage larger sweet potatoes, consider using stakes or trellises. Gently secure the vines to these supports as they grow, making harvesting more manageable too.
Step 7: Mulching
To conserve soil moisture and suppress weed growth, apply a layer of mulch around your sweet potato plants. Suitable mulch materials include straw, leaves, or even black plastic. Avoid direct contact between the mulch and stems to prevent rot.
Step 8: Harvesting
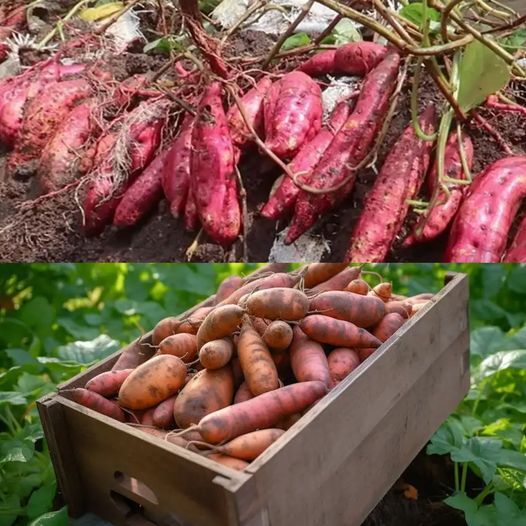
Sweet potatoes are typically ready for harvest around 100-120 days after planting, depending on the variety and growing conditions. Carefully dig around the base of the plant and gently lift the tubers from the soil, being careful not to damage them.
Step 9: Curing and Storage
After harvesting, sweet potatoes should undergo a curing process to enhance their flavor and heal minor injuries. Place them in a warm and humid location (80-90°F or 27-32°C) for about 10-14 days. Once cured, store your sweet potatoes in a cool, dark place with proper ventilation to extend their shelf life.
Cultivating sweet potatoes in soil bags is an excellent way to enjoy this nutritious root vegetable, especially in limited spaces or less-than-ideal soil conditions. With the right materials and proper care, you can successfully grow your own sweet potatoes at home. Follow this detailed guide, and soon enough, you’ll be indulging in delicious, homegrown sweet potatoes. Happy gardening!
ADVERTISEMENT
