ADVERTISEMENT
- Prepare the Cake
Start by preheating your oven to 350°F (175°C), or follow the baking instructions on the back of the cake mix box. Grease and flour a 9×13-inch baking pan or line it with parchment paper.
Mix the cake batter according to the instructions on the cake mix box. Typically, this involves combining the cake mix with water, eggs, and oil and stirring until smooth. Pour the batter into the prepared pan and bake according to the time indicated on the box (usually around 25-30 minutes), or until a toothpick inserted into the center comes out clean.
- Poke the Cake
Once the cake has finished baking, remove it from the oven and let it cool for about 10-15 minutes. Then, use the handle of a wooden spoon or a skewer to poke holes all over the cake, making sure the holes are evenly spaced but not too deep. The goal is to create spaces for the creamy filling to soak into the cake, making it extra moist and flavorful. - Add the Sweetened Condensed Milk
Pour the sweetened condensed milk evenly over the top of the cake, making sure it sinks into all the holes. The milk will soak into the cake, creating a deliciously moist and sweet base for your filling.
Let the cake sit for 5-10 minutes to allow the milk to absorb, then refrigerate the cake for at least 30 minutes to set.
- Prepare the Creamy Topping
While the cake is chilling, take your whipped topping (like Cool Whip) and gently fold in about 1 cup of the crushed Butterfinger pieces. This will infuse the whipped topping with the sweet, peanut-buttery flavor of the candy while giving it a bit of texture.
Once the cake is cool and the condensed milk has been absorbed, spread the whipped topping mixture evenly over the top of the cake.
- Add the Butterfinger Crunch
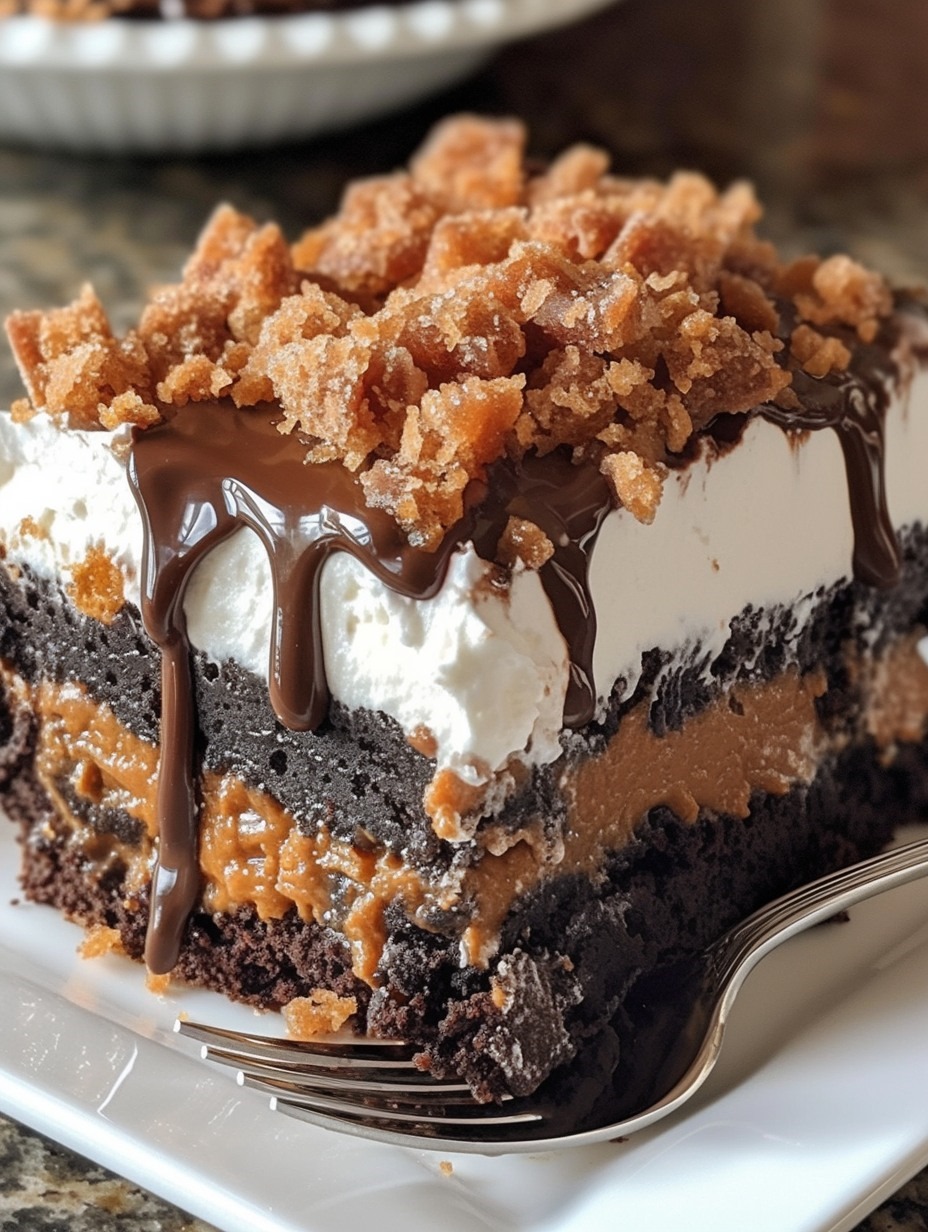
Sprinkle the remaining crushed Butterfinger pieces over the whipped topping layer for an extra crunch and burst of flavor. The candy pieces will give the cake its signature buttery, nutty, and chocolatey crunch. - Optional Toppings
If desired, drizzle some chocolate sauce or caramel sauce over the top for an added layer of sweetness and visual appeal. You can also add more crushed Butterfingers or mini Butterfinger pieces for an even more decadent treat. - Chill and Serve
Place the cake back in the fridge for at least an hour to allow it to set completely. This also gives the flavors time to meld together and makes the cake easier to slice. Once chilled, slice the cake into squares and serve.
Tips for Perfect Butterfinger Candy Bar Poke Cake
Use Room Temperature Ingredients: If you’re making the cake from scratch or adding any other ingredients (like whipped cream), be sure your ingredients are at room temperature. This will help ensure a smoother texture and more even mixing.
Crush the Butterfingers Well: When crushing the candy bars, you can use a food processor for a finer crumble, or simply place them in a zip-top bag and use a rolling pin to crush them by hand. The smaller pieces will help distribute the crunch evenly throughout the cake.
Let the Cake Set: Make sure to give the cake plenty of time in the refrigerator to chill and set. The longer the cake sits, the more the flavors meld and the better the texture becomes.
Make It Ahead: This cake is perfect for making ahead of time. You can prepare it the day before your event and let it chill overnight, which allows the flavors to develop even further.
Why This Cake is So Irresistible
What makes this Butterfinger Candy Bar Poke Cake so irresistible is the combination of flavors and textures. The moist cake soaked in sweetened condensed milk gives it a rich, melt-in-your-mouth quality. The creamy whipped topping adds lightness, while the crushed Butterfingers provide the perfect amount of crunch and flavor.
The beauty of a poke cake is that the flavor goes beyond the surface, as the sweetened condensed milk seeps into the cake and creates an intensely flavorful, moist base. The addition of Butterfingers in both the whipped topping and as a topping ensures that every bite is filled with the signature peanut-buttery, chocolatey goodness of the beloved candy bar.
Variations
While this recipe is amazing as it is, you can customize it to fit your tastes:
Peanut Butter Poke Cake: For even more peanut-buttery goodness, consider spreading a layer of peanut butter over the cake before adding the condensed milk. This will enhance the flavor and give a nod to the classic Butterfinger combination of chocolate and peanut butter.
Chocolate Cake Base: Switch up the flavor by using a chocolate cake mix instead of yellow. The rich chocolate will pair perfectly with the Butterfinger topping.
Other Candy Toppings: You can swap the Butterfingers with other candies like Snickers, Milky Way, or M&Ms to give this cake a different flavor twist.
In Conclusion
This Butterfinger Candy Bar Poke Cake is a show-stopping dessert that combines the rich, smooth texture of a moist cake with the crunch and sweetness of Butterfinger candy bars. It’s simple, indulgent, and perfect for any occasion. Whether you’re a Butterfinger fan or just looking for a fun, easy dessert to serve at your next gathering, this poke cake is guaranteed to be a hit. Grab your ingredients and get ready to enjoy a cake that’s as delicious as it is unforgettable!
ADVERTISEMENT
